 |
| For this last project we used the the My-Type illustrations that we worked on in Illustrator. The Goal of this assignment was to use those images and create a eight page booklet. In order to insert the images onto InDesign i first transformed all the images from illustrator onto PSD files. I inserted the PSD images onto In Design and then wrote a brief description using a text box. I proceed to save the document as a InDesign file but then exported it into a JPEG so I could upload onto Blogger. |
Friday, December 4, 2015
My Type Booklet
Book Cover Collaboration

The goal of this assignment was to work with art students and by using their sketches we applied everything that we have learned this semester in GRA 101.
The book that Gabriela chose was 'The Old Man and The Sea' by Earnest Hemingway. Natasha, Cami, and I helped Gabriela come up with original sketches for her book cover. We each drew two sketches and then we let Gabriela chose the one she liked. She decided to go with her own masterpiece displayed above. After she chose the cover that she wanted we scanned the drawing and then messed around with the levels on Photoshop. After editing in photoshop we opened up InDesign and created a document that had the same dimensions as the book that she wanted to cover. The final step was to align the drawing with the margins and then print.
Thursday, December 3, 2015
My-Type
 |
| Type and Symbol: In order to create this image I first typed the word TALL. In between the T and L, I created some space in order to fit the ladder in between the letters. In order to make the ladder look like it was behind the letters I went to Object>Arrange> Move back. |
 |
| Overlapping symbol: In order to make the film reel look like it was the empty space of the letter A, I picked a font that did not have that white space, so that I could just move the film reel over it and then went to Object>Arrange> Bring to Front. |
 |
| Combine Type and Photo: To create this image I used the exact same process as #1. Just selected a different font. |
 |
| Replacing a an image to replace a word: In order to create this image I first had to brainstorm and come up with an idea that would make sense. I used the book image and then I just added the word worm right below it. |
 |
| In order to create a cliche I had to come up with an idea that could combine two images in order to display a cliche. A lot of times when i'm at the bar I hear the bar tender say "this drink is bomb" meaning that the drink is really good. |
 |
| For this image we incorporated interacting text with a word. For this word I used the wooden blocks and the T on top of it so the T was "stacked on top of the blocks." |
 |
| For the last word all I did was create a text box typed the word FAT and then made the A a different font and made it way "fatter than the rest of the letters." |
Using Adobe InDesign: Using this program was a lot of fun once I got the hang of it. Most of the Images that I used first had to be modified in Photoshop. I found this t be kind of a waste of time because we should just be able to edit In Design as well. Overall I think that this program could be very useful for people that are looking to design covers for just about anything DVD case, CD cases, books etc..
Id: Type Figure
 |
| This first image is created by using only letters. |
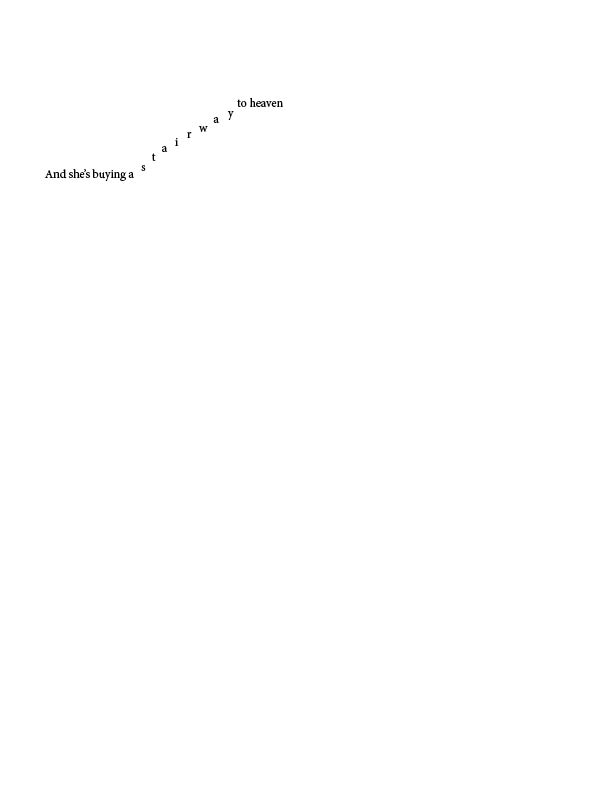 |
| For this type figure I typed "she's buying a" and hen for the concept was o create a stairway with the letters that led to heaven. |
 |
| For This image I used the sentence that reads "the apple that took over the world" The shape in the middle is supposed to be the apple logo. |
 |
| For this image I used an evil smiley face. By using this sign (>), then (:) and finally ) |
 |
| In order to give this word the appearance of it fading I used the smudge tool. |
Subscribe to:
Comments (Atom)